
Now that everything’s laid out, it’s the time to get started in creation.
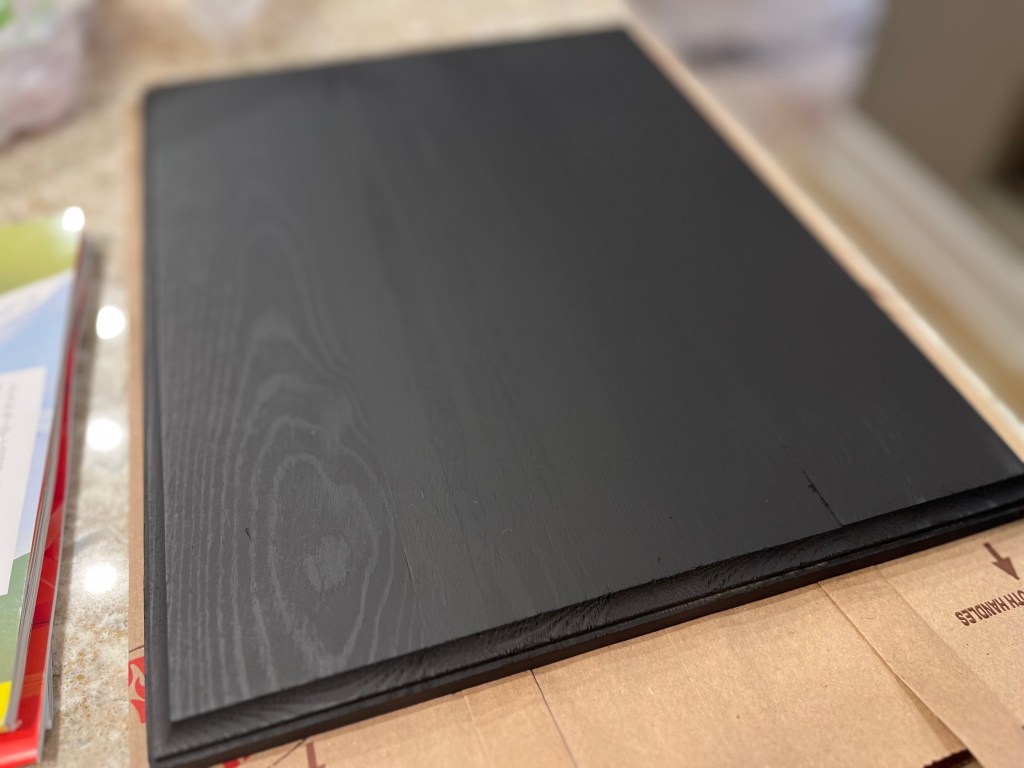
Though I had a lot of planning, there were some things that I had to adjust for; the first of these being the base. Instead of a dark piece of 18×24 wood, I decided to shrink it for the sake of resource sustainability to a size of 11×14. Along with that, the wood was of a lighter color so I decided to spray paint it black to compensate.
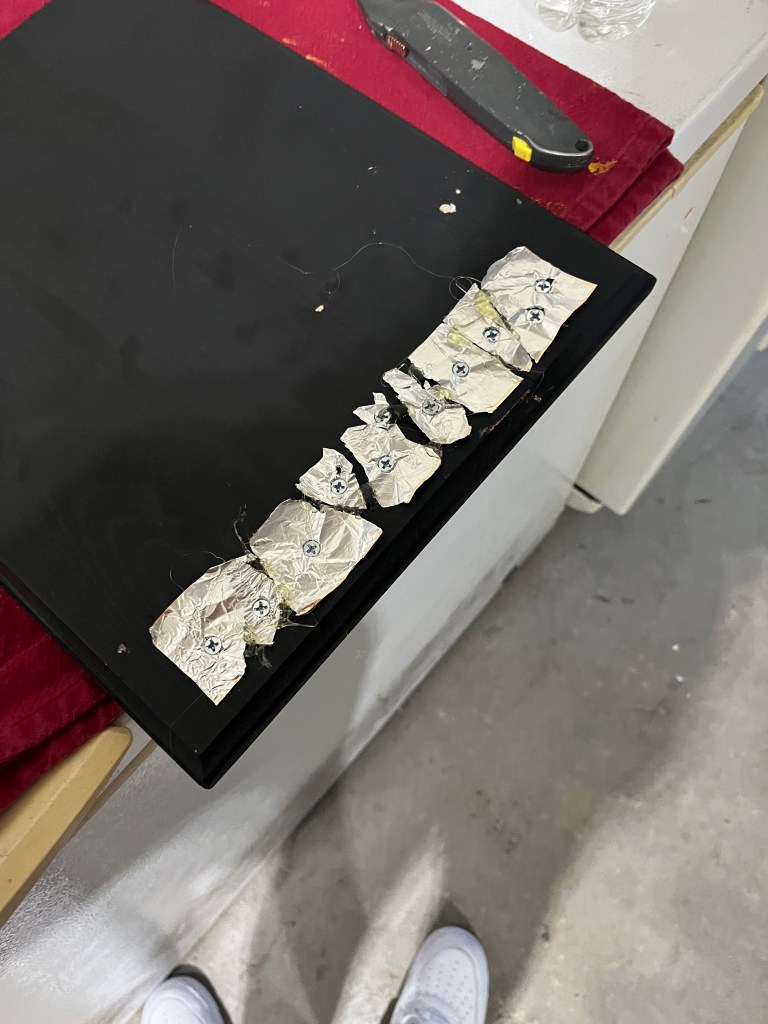
I then started to lay out resources and do some brainstorming on the approach I would take in order to layout everything I had to do to expedite this project’s creation. I used highlighters to mark out the pieces of metal that I would then cut out and then separate the metal once bound to the board.

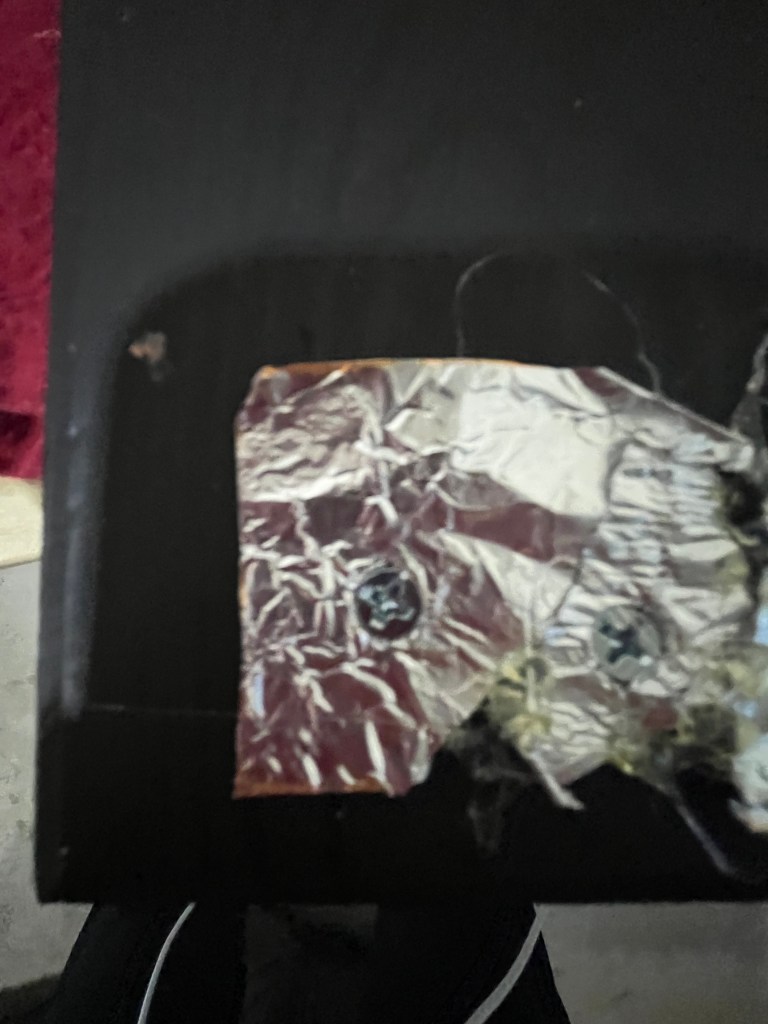
(Right) A decently separated piece of metal, with smooth edges and relatively good symmetry.
As for the coloring and metal, that all went to plan. I decided to use foil instead of sheets as I found it to be more flexible and is easier to morph. Despite the convenience of the foil, it still had it’s downsides. For one, getting a clean cut was certainly a challenge. I had to continuously made small scratches at it while attempting to separate pieces for the mosaic. Another challenge was screwing the pieces in at just the right depth, and hoping that they wouldn’t separate or crumble.


(Right) My original lining that I would attempt to smoothly cut out.
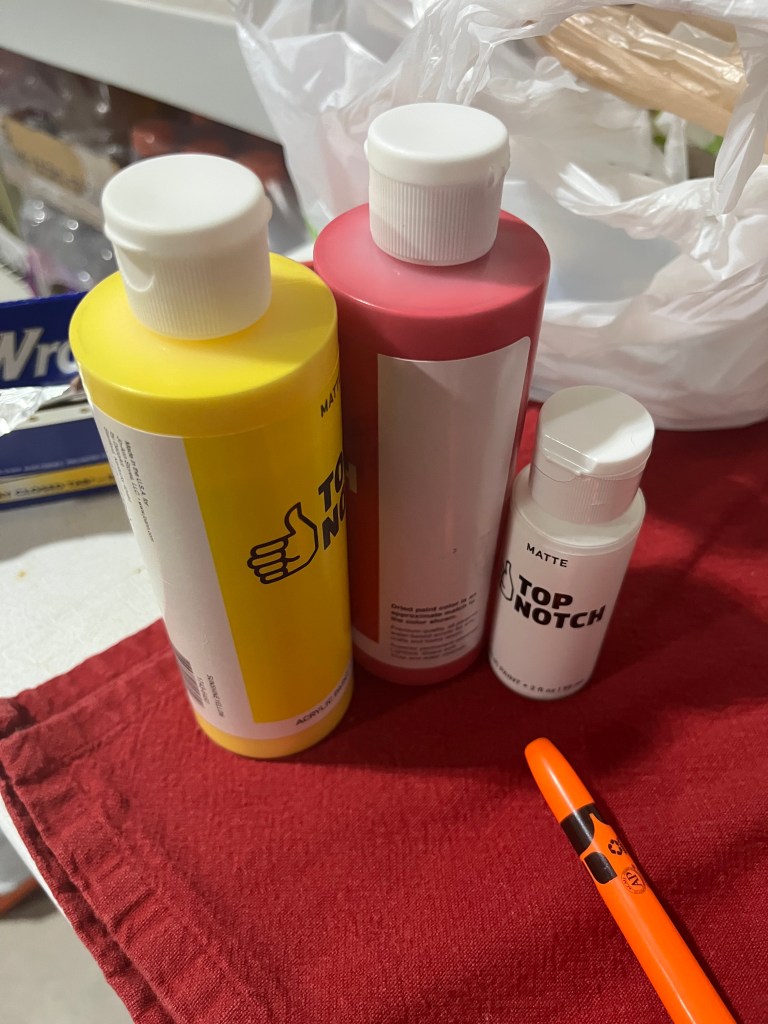
On the other hand, there were certainly parts of the creation that proved to be a lot easier in nature in comparison to the challenges that popped up. For example, the coloring. I had purchased red, yellow, green, blue, black, and white paint which were not only easy, but fun to work with in order to match the hues seen on the mosaic, in a more vibrant manner. Also, the board was perfect for the screws, as they went in seamlessly, and were tightly held in.

(Right) Those same three colors being used to mix into a hue that matched the flooring presented in the mosaic.
For the safety of the mosaic’s composition, as well as to stay true to traditional formations of these arts, I decided to add a bit of adhesive. Since I was working with a paper-like version of metal, I thought that hot-glue would be a great contender to held keep the pieces together yet visually separates, while they were still bound to the board by the screws.
(Right) A more wide shot of the project, with the bigger pieces held together by glue before the pieces were torn into smaller pieces.
All in all, I feel that the beginning of my production has had its ups and downs. Nevertheless, I’m certain that the ending to this creation will be a beautiful one, one in which the hard work put in is paid off.
