Peter Bashore
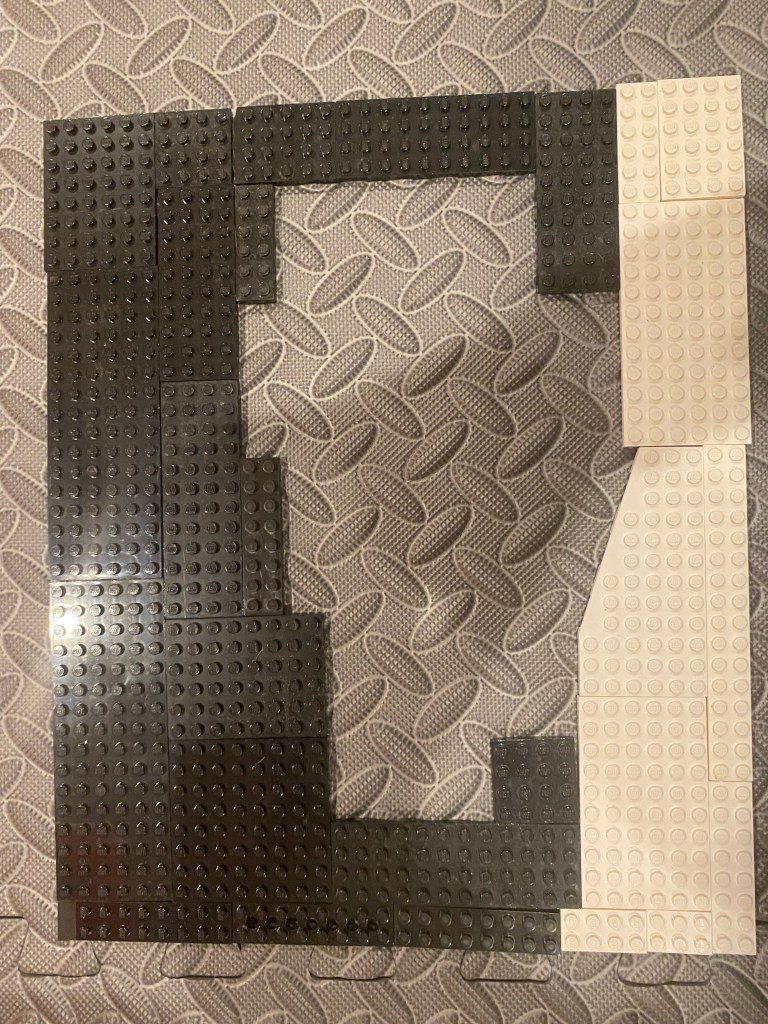
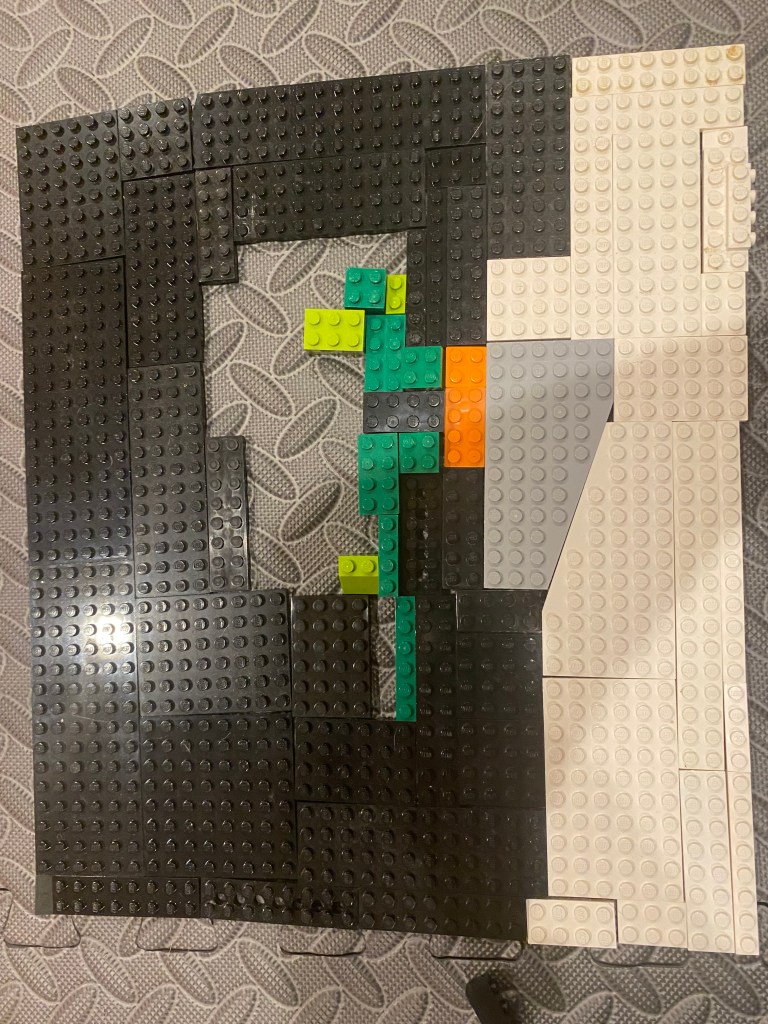
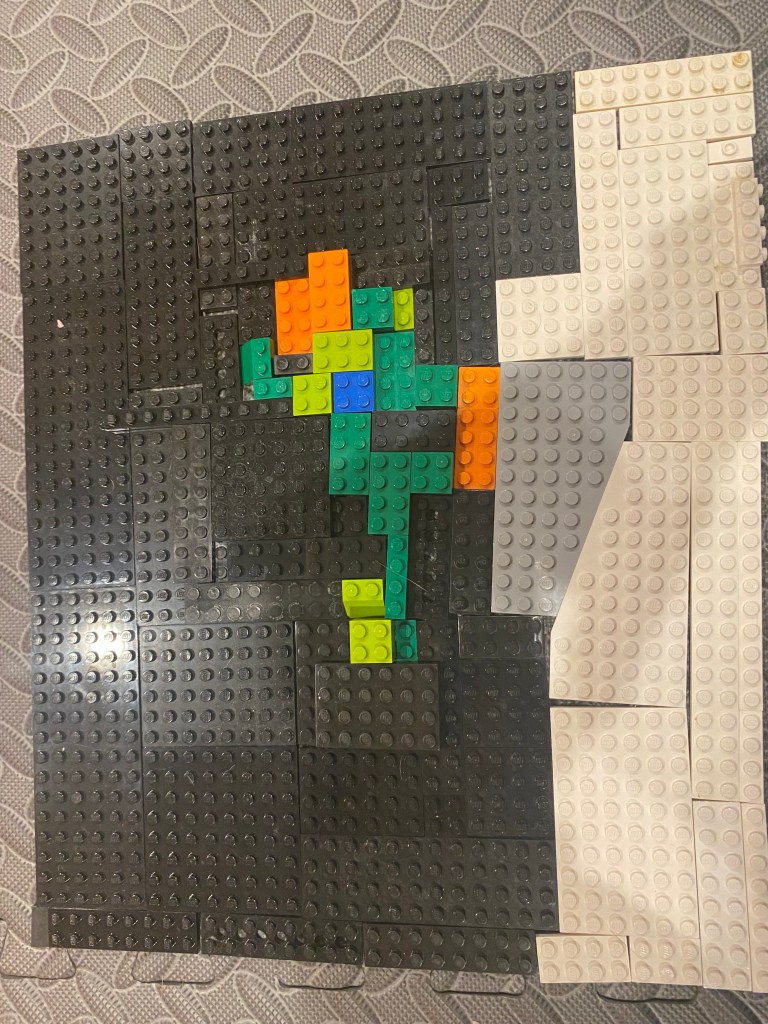
The next portion of this project is taking the plans from my earlier post and putting it into action. As i quickley learned, however, actually creating this parrot mosaic is a completely different story from planning on creating it. As I am not an artist, I underestimated the severity, for lack of better wording, of these challenges while creating the parrot mosaic. The Lego pieces moved around a lot more than I initially anticipated, and this resulted in some gaps between pieces. It also made it harder to keep the square shape of the original mosaic, and this is clearly visible in the pictures I have below. It was not uncommon for me to get frustrated with the Legos and the gaps between them and remove an entire section to do it all over. Trying to get a clearer depiction of the parrot using Legos was also a lot harder than I thought it would be. It looks like a pixel-art version of a parrot because of the stubs that stick out on Lego bricks. As I worked, it became more and more difficult to place pieces in the correct place due to the small size of the Lego bricks. Often when I would try to place a small brick, such as a 2×2 or 1×2 brick, into a small gap, i would end up nudging another group of pieces. This was the main cause of my frustration. Not only was putting the Legos into the small spaces a challenge, but finding the pieces that actually fit inside of those gaps was a whole other ordeal. While I did end up finding enough pieces, I spent about 30 minutes sifting through bins just to find the correct size and color Lego piece to place down. The recreation of the Parrot Pergamon mosaic took me about 2 hours, although with the removal of my frustrations and taking apart entire the entire thing this could likely be cut in half.