Matthias Pridgeon
The recreation of the Ostia Antica mosaic has been a tiresome but rewarding process that has required, more than anything else, an extreme level of diligence. Though much of my progression on this project has not necessitated much prerequisite skill, each step has mandated extreme patience and accuracy.
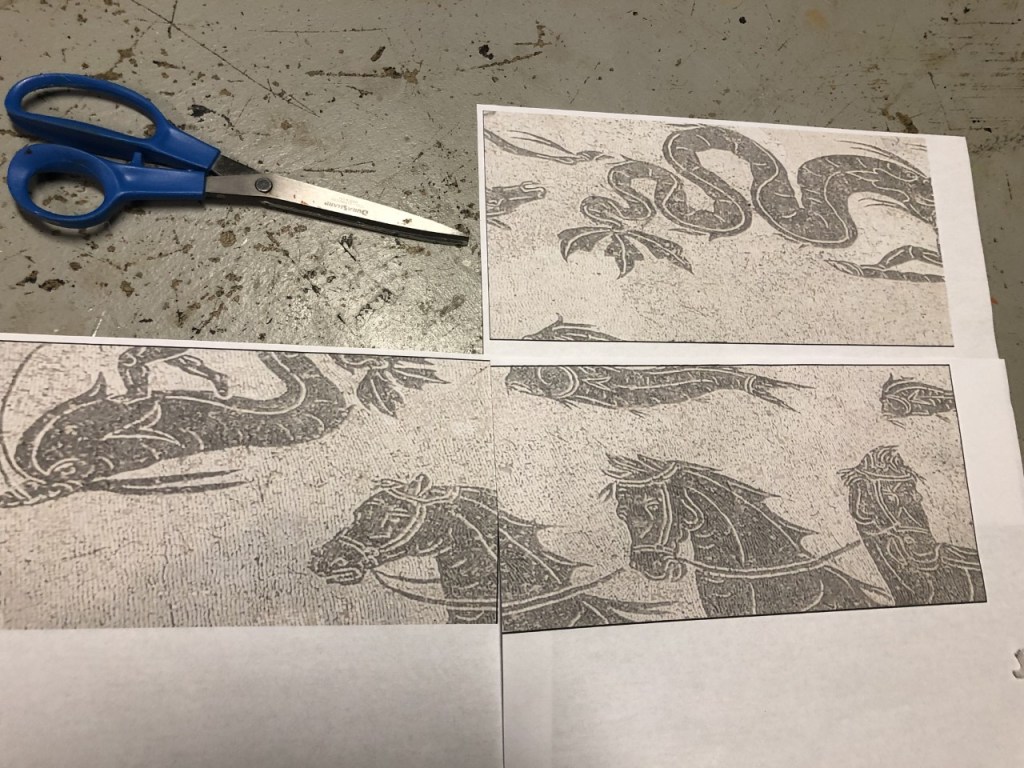
The first step I took in my progression was selecting the specific area of the panoramic Ostia Antica mosaic to recreate. Though in an ideal world the entire mosaic would be recreated, I felt to guarantee the highest quality it was best to select an area which contained enough elements to maintain the maritime spirit of the mural, while still remaining plausible for me to accurately recreate. The photo below is a screenshot of this chosen area.

Once I selected this area, I considered the skill I wished to work at. I eventually concluded I wanted something a little more than twice as wide as it was tall, and added a grid over top the screenshot which divided the image into four quadrants that maintained this scaling idea. I then individually screenshotted each of the four quadrants, and printed each out on a separate piece of paper. Then, I cut the images out, and laid them on the ground in proper formation.
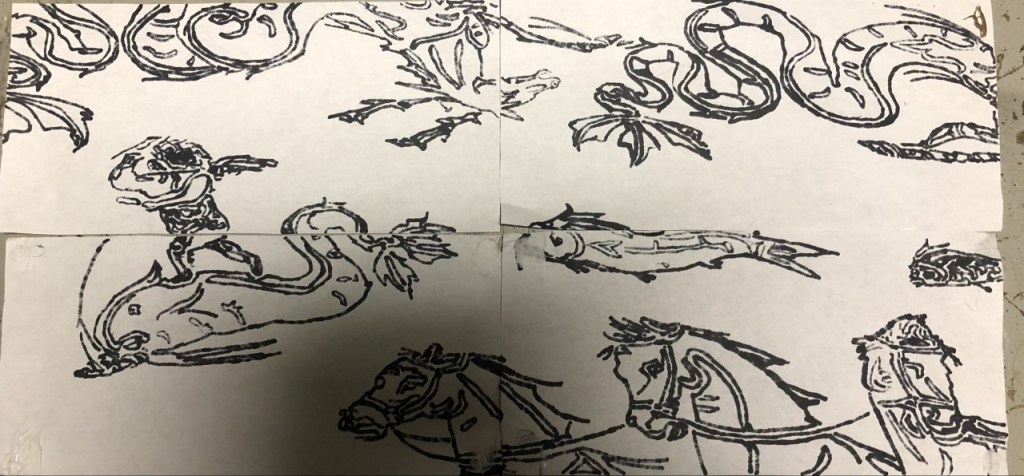
I then took a black Sharpie and traced the outside of the dark areas in the printed out mosaic pieces. This was to make the future process of painting easier, as the lines were more clearly defined and easier to follow. The bled-through, sharpied pages are pictured below. Following the images’ tracing, I began the most difficult portion of the project.
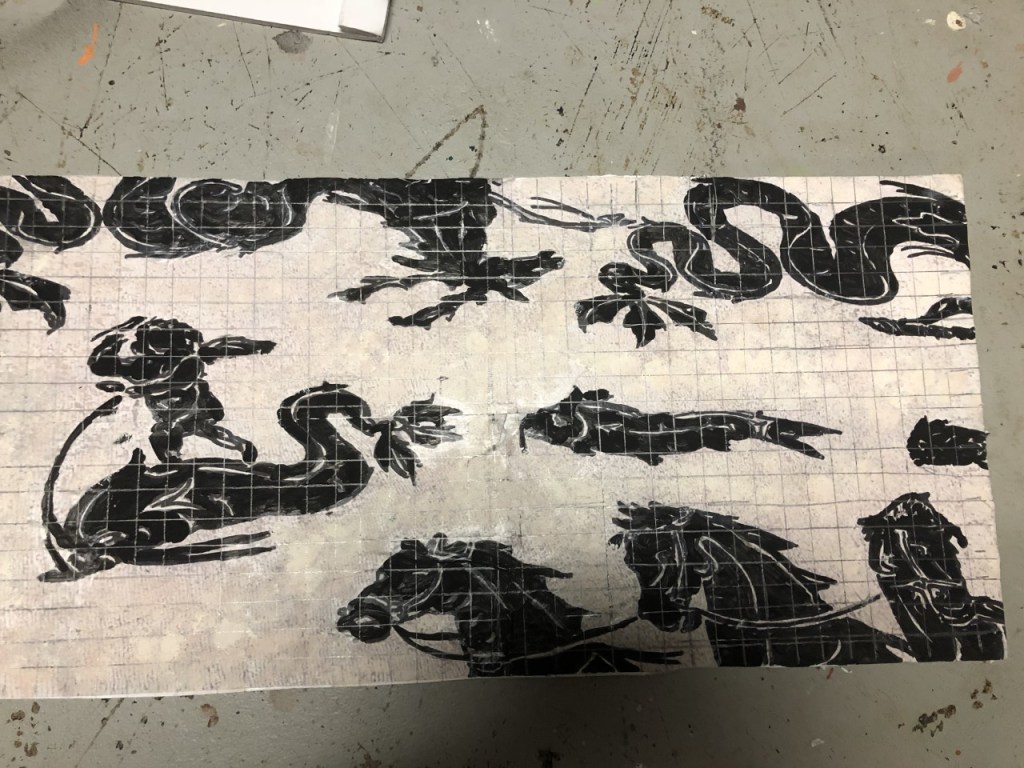
I began to recreate the image’s ebony portions with a pitch-black paint, careful to avoid the filigrees and stripes done in white. This took quite a while, but after a while, was complete with surprising accuracy. After a few touchups, I turned toward the background, which I wanted to paint to integrate it to the style of the figures. I did my best to recreate the color of the background in the original image by applying a black wash, and, once that had dried, stippling on a crème color. Below is the painted version, though this photo still lacks the later touch-ups. As I finished the painting process, I mixed a concoction of Elmer’s glue and modge-podge, which I applied liberally to the back of my traced papers and to the white foam board to which they were mounted.

My last major step was to give the recreation a mosaic-tile feel. To achieve this effect, I tracked many, many squares onto the mosaic recreation with a pencil. I then used a box cutter to cut these lines, being careful not to press hard enough to penetrate the foam board all the way through, as to maintain a somewhat rigid structure which held the tiles in place without removing the tiling effect. Below is the mosaic reacreation with the pencil lines traced.
Now that I have finished cutting, the mosaic is nearly completed. All that remains is a few final touchups to the paint, a slight widening of the gaps between tiles to accentuate the tiled effect, and a sealant coat to keep the painting intact. Below is the nearly finished product.

